Say Goodbye to Getting Lost, Embrace Confident Exploration
In the wilderness, the ability to navigate is a core source of security. Today, we have powerful digital tools at our disposal, but using them correctly is a fundamental skill. This guide will walk you through using navigation apps, empowering you to traverse mountains and wilderness with confidence.
Step One: Select Your ‘Digital Compass’
Recommend 2-3 mainstream outdoor navigation apps and download them in advance.
Two Steps: Most popular among domestic users, with exceptionally rich track resources.
Six Feet: User-friendly interface and vibrant community features.
Aowei Interactive Map: Supports multiple map sources with robust functionality.
Recommendation: Beginners should opt for ‘Two Steps’ or ‘Six Feet’.
Step Two: Pre-trip Preparation – The Critical ‘Offline’ Operation
Mountain areas often lack signal! Therefore, all preparations must be completed in a Wi-Fi environment.
Finding and Downloading Trails:
Search for your target route within the app (e.g., ‘XX Mountain Hike’).
Select a track with high downloads, recent updates, and positive reviews. Download or save it to ‘My Tracks’.
Download offline maps:
Locate the ‘Offline Maps’ feature in the app settings.
Download satellite imagery or outdoor maps corresponding to your hiking area. This ensures clear map backgrounds even without network coverage.
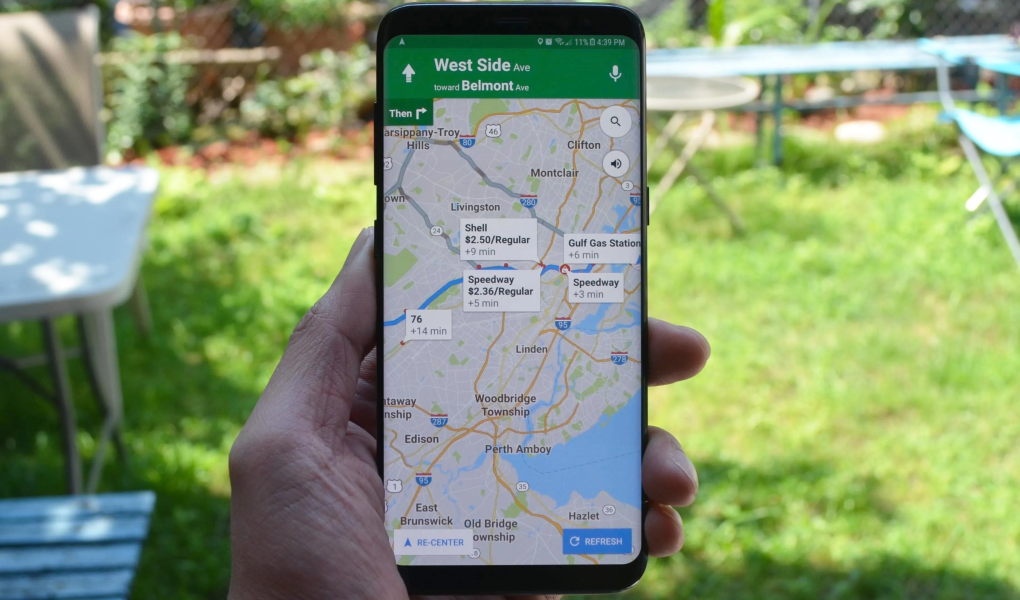
Step Three: Field Use — Follow the ‘Blue Line’
Start recording at the trailhead: Upon reaching your starting point, open the app, select your downloaded track, and tap ‘Start Recording’ or ‘Follow Track’. Your screen will display:
A clear reference track (typically a red or grey line).
A blue cursor (or arrow) indicating your current position.
Core principle: Keep your blue cursor moving along the reference track at all times. This is the entire secret to modern hiking navigation.
Real-time verification: Periodically look up at the path and glance down at your phone to confirm your direction is correct. Verify especially at junctions.
Step Four: Advanced Techniques and Safety Backups
Interpreting Key Data: Monitor metrics displayed on the app—distance covered, cumulative ascent, remaining distance, real-time elevation—to manage your stamina.
Setting Waypoints: Should you discover a splendid viewpoint or hidden water source, mark your current location with a ‘waypoint’ for future reference.
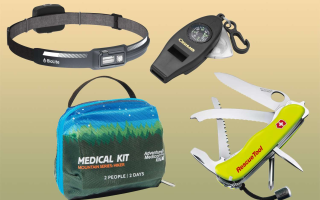
Traditional Navigation as Essential Backup: Electronic devices may run out of power or break. Therefore, mastering the fundamental skills of using paper maps and a compass is imperative, serving as your ultimate safety net.
Conserve battery power:
Enable flight mode and disable non-essential applications.
Carry a high-capacity power bank.
Reduce screen brightness.
Mastering navigation applications is akin to possessing a beacon in uncharted territory. They significantly lower the barriers and risks of hiking. Yet remember: these are merely tools. Your most vital navigator remains your own vigilant and clear-headed mind.