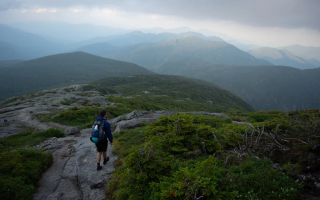
Hike-and-camping is the magic that extends the joy of hiking infinitely. It allows you to venture deeper into hidden realms, savouring the wilderness alone at dawn and dusk. For first-timers, the process may seem daunting, but by following these steps, you’ll effortlessly embrace this ultimate adventure.
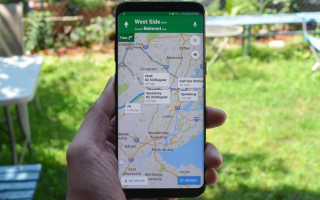
Stage One: Site Selection and Setup
Golden Rules for Location:
Legal: Pitch only in designated camping areas.
Level: Choose flat ground free of steep slopes or large rocks.
Dry: Opt for well-drained spots, avoiding riverbanks, dry riverbeds, and low-lying areas to prevent night-time flooding.
Sheltered: Seek natural windbreaks like the leeward side of rocks or thickets.
Away from Animal Trails: Avoid setting up camp along paths used by wildlife for drinking or foraging.
Erecting your “home”:
Practise beforehand! Always test-pitched your tent in your garden or a park before setting off.
Procedure: Lay out groundsheet -> Unfold inner tent -> Connect poles -> Raise tent -> Attach flysheet -> Drive in pegs -> Secure guy ropes.
Check: Ensure the outer and inner tents are separated for optimal waterproofing and breathability.
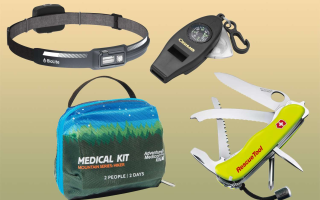
Stage Two: Cooking and Water Management
Safety-First Kitchen Area:
Position the cooking area downwind and at least 2-3 metres from the tent to prevent food odours attracting wildlife and to guard against sparks reaching the tent.
Water Collection and Purification:
Never drink directly from natural water sources. Purification is essential.
Purification Methods:
Filters (most convenient)
Boiling (most reliable; boil for 1-3 minutes)
Water purification tablets (lightest option, though may impart taste)
Fire-Making and Cooking:
Preferred Method:
Use a gas canister stove for convenience, cleanliness, and safety.
Fire-making (where permitted and necessary): Must be conducted within designated fire pits or stone-lined hearths. Ensure flames are fully extinguished (test embers with the back of your hand until no heat is felt) before departing.
Menu: Opt for simple, quick-cooking dehydrated rice, noodles, and soups.
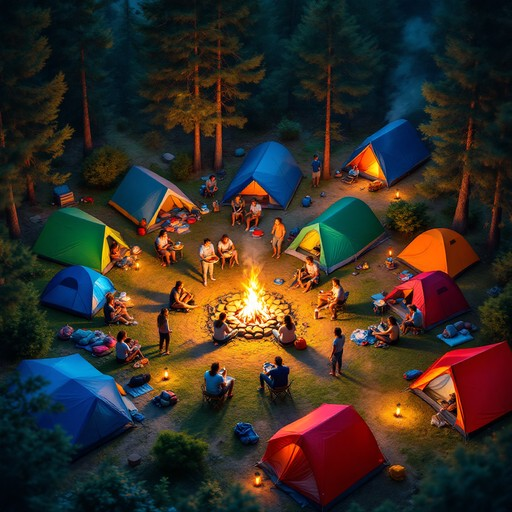
Stage Three: Night-time Management and Rest
Stowage:
All odorous items (food, toothpaste, rubbish) must be stored in bear-proof containers or hung in bags from trees well away from the tent.
Place footwear and rucksacks inside the tent or under the flysheet to prevent dew damage or visits from small animals.
Pre-sleep checks:
Position headlamps, drinking water, and clothing within easy reach inside the tent.
Double-check the tent door is securely closed.
Stage Four: Breaking Camp and Leaving No Trace
Packing: Pack down in reverse order of arrival. Wet gear (e.g., tent flysheet) should be packed separately in waterproof bags.
Campsite Inspection: Conduct a thorough sweep, collecting every scrap of litter—including food wrappers and loose string ends.
Restore the Site: Fill any drainage channels you dug and replace displaced stones. Leave your camp spot looking as though no one had ever been there.
Your first backpacking trip will be an adventure filled with learning and a profound sense of achievement. As you lie in your tent at night, listening to nature’s white noise and gazing at the stars beyond the canvas, you’ll realise all the preparation was worth it. This isn’t merely about honing skills; it’s the beginning of a deep connection with the natural world.