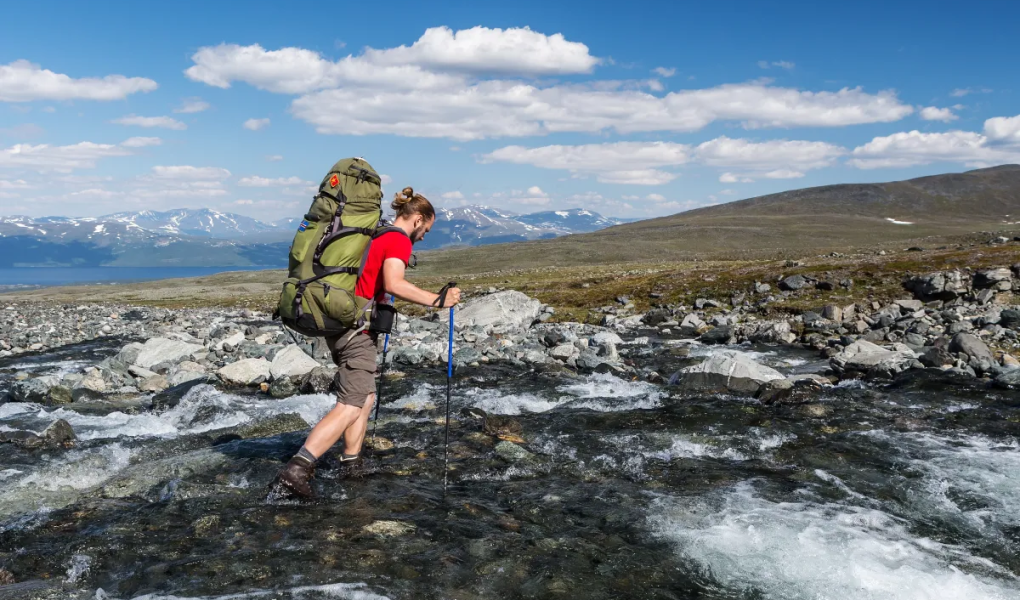
Rapid rivers represent one of hiking’s most insidious and deadly hazards. Icy water temperatures, slippery rocks, and powerful currents can transform an easy crossing into an accident. This guide systematically teaches you how to assess and safely navigate such obstacles.
Stage One: Risk Assessment – ‘Cross’ or ‘Don’t Cross’
This is the most critical step, determining all subsequent actions.
Observation and Judgement:
Water Depth: If water exceeds the upper thigh, forced crossing is inadvisable.
Flow Speed: Test with a branch; excessively fast currents (exceeding walking pace) indicate danger.
Riverbed: Is the water so murky you cannot see the riverbed? Extremely high risk!
Water Temperature: Glacial meltwater or snowmelt is extremely cold, rapidly causing leg numbness and hypothermia.
Finding the Optimal Crossing Point:
Seek a section where the river is wide and shallow.
Avoid areas downstream of waterfalls or sharp bends in the river channel.
Observe whether there is an easily accessible path to land on the opposite bank.
Final decision: If any doubt exists, decisively abandon the crossing! Seek a better crossing point upstream or downstream, or simply retrace your steps.
Stage Two: Personal River-Crossing Techniques
If you decide to cross, follow these steps:
Equipment preparation:
Wear shoes! Never cross barefoot; footwear protects your feet and provides traction.
Use trekking poles or long sticks to create a three-point support system facing upstream, greatly enhancing stability.
Loosen your rucksack’s waist and chest straps to quickly shed it if you fall, preventing it from dragging you underwater.
Posture and Movement:
Face upstream, leaning your body slightly downstream to counter the current’s force.
Move sideways in small steps, traversing like a crab. Avoid crossing legs or taking large strides.
Plant each foot firmly, ensuring secure footing before taking the next step.
Stage Three: Team River Crossing
Team coordination provides substantial stability.
Chain Formation: Members line up shoulder-to-shoulder or backpack-to-back, with the strongest positioned furthest upstream to resist the current.
Wall Formation: Members stand shoulder-to-shoulder, arms interlocked, moving sideways as a unified wall.
Wedge Formation: The strongest member stands at the upstream apex, with others forming a V-shape behind, providing collective support.
Stage Four: Crisis Management – What to Do if You Fall
Stay calm!
Do not attempt to stand immediately! The current will sweep you under.
Face downstream with feet forward, raise your hips, protect your head with your arms, and float with the current.
Observe behind you. When drifting into calmer, shallower sections, attempt to turn feet forward and slowly stand up.
Respect every river. River-crossing techniques can be learned, but caution and judgement must remain constant. Safety always takes precedence over progress.